You’ve started a drawing in Procreate. Sketched in a few lines, started rendering depth and got into the groove. Suddenly, you’ve noticed that it looks pixelated. Had you been drawing on real paper, you might have no option but to start again. Luckily, though, this is a digital drawing app – meaning that you’re going to be able to work around it pretty easily.
There are going to be several steps you can take to make your Procreate art look less pixelated. While some may have a greater effect than others, each step will combine together to prevent you from encountering the issue in the future. As a principle – these are all things you should consider before you begin drawing or painting in the app to prevent your art from looking fuzzy and pixelated.
Here’s how to make lines in Procreate look less pixelated
- Increase your canvas size
- Use high-quality brushes that fit your drawing style
- Avoid stretching and upscaling your image
- Adjust Procreate interpolation settings
- Use high-quality assets
- Use the Streamline Stroke setting
- Don’t draw while zoomed in
- Export at the highest quality
The most likely reason that Procreate looks pixelated at times is due to having an incorrect canvas size. Before you begin any piece of artwork, digital or physical, you have to carefully consider how big the final piece is going to be. Both in terms of proportions and dimensions – it’s crucial that you choose correctly from the get-go. In cooking, they say you can always add more but never remove. That logic means little to digital artists. Most of the time, I’ll choose a larger canvas size and then shrink that down to a size that better suits my final product.
Increase your canvas size
Open your drawing, click the Actions icon (a spanner) and then click Crop and Resize. Here, you’re going to be able to increase your canvas size. However, if you’ve already begun drawing on a canvas too small, increasing it will only make your pixelation issue worse. Making sure that you have the best iPad for Procreate Dreams and Procreate will stop you from having to worry about choosing the wrong canvas size.
Use high-quality brushes that fit your drawing style
Another reason that you might be experiencing pixelation issues in Procreate is due to using the wrong type of brush. Each brush is going to have a unique set of flow, saturation, jitter, spacing and shape. There’s even going to be some brushes which are designed to give a ‘pixel’ look, which you’re going to want to avoid if you’re not after that particular style.
Choose a smooth brush in Procreate to avoid pixelation issues. While it won’t have as much of an impact as choosing the correct canvas size, it’s going to keep your art looking as clean as possible.
Avoid stretching and upscaling your image
Being confident in your choices will make you a great artist. I’m still working on that bit, which is why I encounter this issue so much in Procreate. Most of the time I’ll use the app for light-weight sketching and then digital inking. As a tattoo artist, working with such an adaptable and customizable tool is a real game-changer. When it comes to meeting client demands, there are always going to be necessary adjustments – size, rotation, orientation, alignment and much more.
As it’s so easy to scale drawings up or down, it actually opens up room for visual artefacts and pixelation issues. If you’ve already started a drawing on a canvas that’s too small, or the design itself is too small for the canvas, scaling it up will increase the visibility of pixels. Luckily, though, the inverse is also true. If you’ve started a drawing on a canvas too large, scaling it down will reduce the visible pixelation.
Adjust Procreate interpolation settings
Similar to what I’ve mentioned about stretching and scaling entire images, the same goes for layers. Luckily, Procreate’s interpolation settings make this a little more nifty. Make sure to use Bilinear or Bicubic interpolation as opposed to Nearest Neighbour settings.
Use high-quality assets
A lot of time when I’m drawing in Procreate, I’ll bring in a pencil drawing that I’ve scanned in. A lot of the time, the scanned image will be pretty low quality. While this won’t necessarily be part of the ‘pixelation’ issue, it’s still going to cause various issues with quality and fuzziness.
Use the Streamline Stroke settings
If you open up your brush settings in Procreate, you’re going to find a Streamline option within the Stroke category.
Play around with it to find a level that suits your art properly. Below, I’ve shown a comparison of the two settings. The first is set to None, while the second is set to 100%. You can see a clear difference in the smoothness of the lines, and if you were experiencing issues with your canvas size – you’re going to be able to minimize them by adjusting this slightly. Now, as a disclaimer, if you’ve begun a drawing and it looks pixelated – this won’t necessarily change that. Instead, it’s a preventative measure!
Don’t draw while zoomed in
I think at some point in our artistry lives, we’ve been trying to draw a little detail in a little corner of the canvas. Digital arts creating work in Procreate are likely much more susceptible to this. The capability to zoom in is nearly infinitely more powerful in the app than what humans are normally capable of, giving artists the opportunity to draw on a (virtually) molecular level. Okay, while that was a gross exaggeration, it’s the principles that count.
If you zoom in too much while drawing in Procreate, you’re almost definitely going to encounter issues with your artwork looking pixelated. Not only that, but as a rule of thumb, you shouldn’t do this anyway as you’re going to lose a sense of scale and proportion.
Export at the highest quality before printing
Finally, there’s probably a contingent of artists out there who are only noticing that their drawings look pixelated after they’re finished using Procreate. Finishing a piece of artwork and then printing it off, only to realize it looks fuzzy and pixelated, is nothing short of a nightmare.
Make sure you export it at the highest level – 300 DPI, as mentioned by a Procreate forum moderator. This isn’t going to be as important if you’re only intending for the image to be used digitally, but it’s especially important if you’re going to be printing it physically.
Technically, rasterization is making your Procreate projects look pixelated
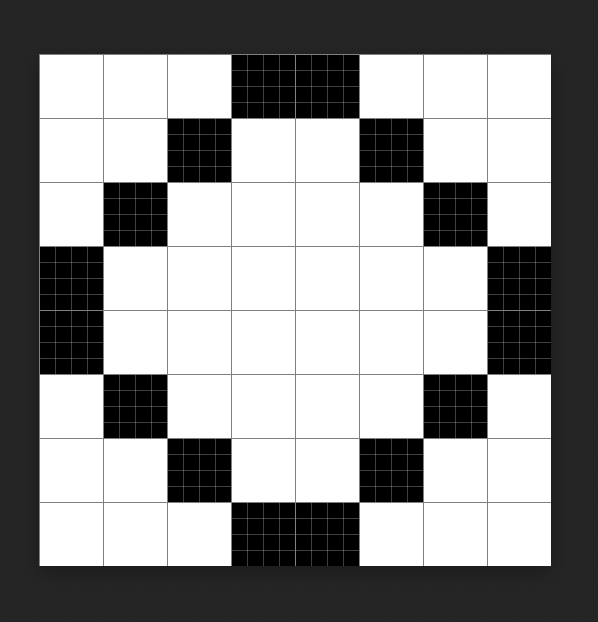
Procreate, like Photoshop generative fill and other digital tools, is based on a raster system. If you’re noticing that Procreate looks really pixelated, then you’re already halfway there to understand what rasterization is. Most standard lightweight image file systems use a pixel grid matrix to represent imagery. An image file might be 32 x 32 pixels, as denoted below.
Other image formats, such as an ‘SVG’ will use a vector instead. For example, a straight line from point A to point B will be represented in this file format through an equation: y = mx+c, which you might remember from Maths class (I couldn’t, I had to Google it.) Curves, circles, and whatever geometric truths are all made from similar equations. These can be upscaled and downscaled nearly infinitely.
You might recognise these from Adobe Illustrator. Anyway, Procreate does not use this system, instead, it uses rasters. This allows you to layer pixels, create texture, and manipulate opacity and density – all things that when combined together create beautiful digital art. You can’t disable rasterization in Procreate, but you can work alongside it.
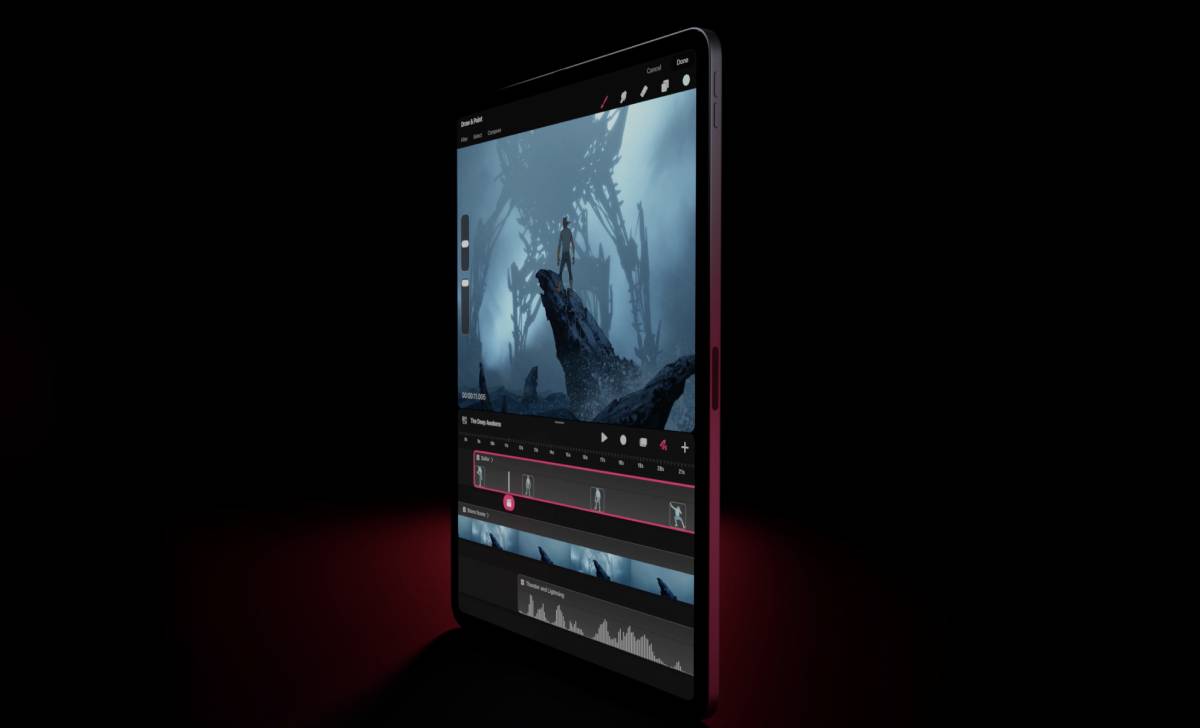
That’s as much as we have on how to stop Procreate from looking pixelated. Check back in with as we lead up to the launch of Procreate Dreams. We’re going to be keeping an eye out on the beta, and whether it will work with iPad Air and all Apple Pencils.